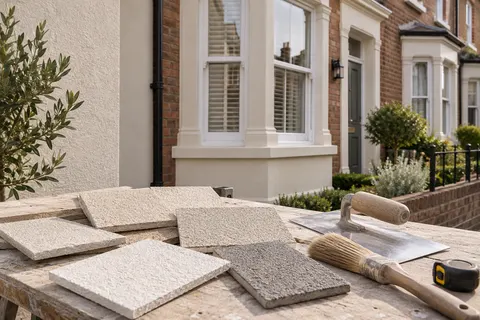
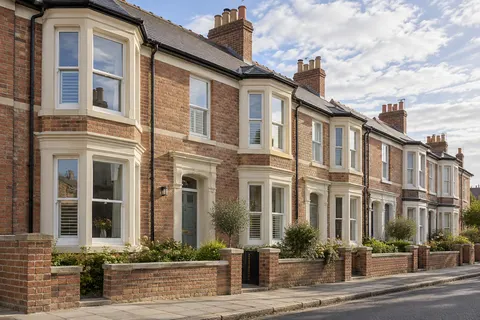
House rendering
House rendering in Hull
Rendering a house means renewing the coating on every outside wall in one programme: front, back, gables, bays and any rear offshoot. On a house that is already rendered, the old coat is tested, the failed parts are removed and new coats are built up on a repaired wall. On a brick house that has never been rendered, the first question is whether it should be at all.

On this page
Signs that the coating has had its day
Render rarely fails all at once. Look for cracks spreading from the corners of windows and bays, a bulge or crumbling band just above ground level, staining under sills, and patches in several different textures where earlier repairs have been made. Then knock on the render at reachable height with a screwdriver handle. Solid render gives a crisp knock. A dull, papery sound means the render has come away from the brick behind it, even if the surface looks whole.
When those hollow, dull areas turn up on most elevations, patching each one leaves a wall of joints and a short life for the render in between. Re-rendering the house gets the beads, the coat thicknesses and the finish consistent everywhere. If the render is solid and the problem is a faded or grubby colour, cleaning and a respray is the smaller job.
- Scaffold and protection Windows, doors, paths and planting are covered; downpipes, lights and satellite brackets come off.
- Old finish tested or removed Failed render is removed; the survey decides whether any sound areas can remain within the specified system.
- Masonry repairs and beads Cracked bricks and open joints are repaired; corner, stop and base beads are fixed.
- Base coats Sand-and-cement scratch and float coats, or a manufacturer basecoat with mesh.
- Finish coat A painted, scraped or thin-coat coloured finish, applied in suitable weather.
- Fittings and junctions Fittings are refixed through the new surface; sills, roofline and abutments are sealed.
The usual order of work. The survey and the chosen products decide the actual steps.
Start at the bottom of the wall
Hull City Council's flood risk strategy describes the city as low-lying with little relief, shaped like a bowl, and notes that surface water pools in low spots after heavy rain. That makes the foot of the wall the place to get right. Render should finish on a bell-cast bead above the damp-proof course (DPC); Catnic's data sheet describes its bell-cast bead for exactly that use, so rainwater drips clear of the masonry below.
Render carried down to the pavement acts as a wick. A consumer guide from RICS shows how anything spanning the DPC gives moisture a way round it, and gives two brick courses, roughly 150mm, as the drop to keep from DPC down to path level. If a path or yard has been raised over the years, that is worth dealing with during the job, because the scaffold and the hacking off are already happening.
What happens, coat by coat
MPA Mortar's Data Sheet 04 sets out the usual cement build-up: a 10–12mm undercoat, scored across with a scratcher and dried right out, followed by an 8–10mm top coat that must not exceed the undercoat in depth. Where a wall is severely exposed, it recommends three coats instead of two. A coloured silicone or monocouche finish replaces the later coats with its own build-up.
Tap-test and mark every elevation; note the DPC line, sills and the depth of each window reveal.
Scaffold, sheet the windows and doors, and take off downpipes, lights and cable clips.
Hack the old render off and brush the brick down.
Repair soft or broken bricks, rake out loose joints and fill old openings.
Fix a bell-cast bead above the DPC, stop beads at reveals and corner beads on angles and bays.
Dampen the brick if it is thirsty, apply the undercoat, rule it flat and scratch it.
Give the undercoat time to dry and shrink; MPA Mortar allows two days or more in summer and a week or longer when it is cold or wet.
Apply and finish the top coat, keep it sheeted from rain and fast drying, then refit fittings.
Bays, sills and the roofline
Bay windows turn one wall into several small faces, each with its own corners and reveals. Every external angle needs a corner bead and every return into a frame needs a neat stop, otherwise the narrow faces end up with wavy edges and thin render. Sills should project clear of the new face with a drip underneath, or water will stripe the render below every window.
At the top, render should stop cleanly beneath the soffit or eaves board rather than being packed into it. Downpipes go back on fixings long enough for the new render, set into the brick rather than the render alone.
Before rendering bare brick
Conservation areas are Article 2(3) land, and the government's permitted development guidance treats rendering any part of a house there as cladding that needs a planning application. Hull City Council's leaflet for Hessle Road Conservation Area, whose mid to late Victorian terraces are primarily red or gault brick, lists external rendering of elevations among the area's weaknesses. Speak to the council before planning to render a brick terrace there.
Settle building control before agreeing the start date. Approved Document L's dwelling guidance calls for a thermal upgrade when renovation covers more than half of an individual thermal element, or more than a quarter of the external building envelope, subject to feasibility. For external render removal, its diagram measures the elevation containing the work. A quote for a full re-render should therefore state whether insulation has been assessed and whether the agreed detail changes the sills, pipes or roof edge. Finding that out after the scaffold is erected makes the scope harder to manage.
Common questions
Should every wall get the same finish?
Not necessarily. A rear offshoot that is rarely seen can have a plainer finish, but beads, coat thickness and the detail at the DPC should be the same everywhere.
How long does a house take?
It depends on removal, repairs and the weather between coats. Drying time for the undercoat is the part most often underestimated in cold, damp spells.
See housing and planning information for Hull and nearby places, including the source and geography behind each figure.