Single elevations and partial projects
Wall rendering in Hull
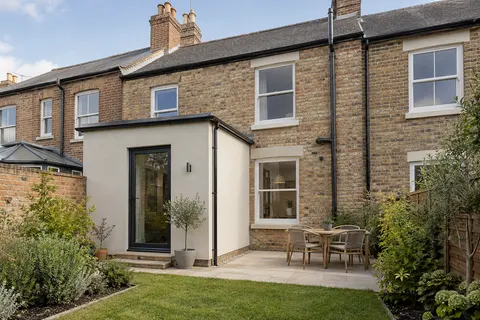
Not every job is the whole house. Wall rendering deals with one surface at a time: a weather-beaten gable, the back wall of a rear offshoot, a new extension in blockwork, or a yard or garden wall. The materials and coats are the same as for a house. The extra work is in the edges, where new render has to meet brick or old render without leaving a gap for water.

On this page
The usual single-wall jobs
A gable end takes the weather side-on and often shows hollow render or cracks before the rest of the house does. A rear offshoot wall may have been patched several times around a kitchen window and a soil pipe. A new extension is built in blocks intended to be rendered, beside a house that may be brick. And yard walls, built to enclose rather than to shelter anyone, often get render as an afterthought and lose it first.
Doing one wall is sensible when tapping the others gives a solid knock and their surfaces are sound. If dull, hollow areas turn up across the house, it usually makes more sense to plan the whole house together under one scaffold.
- Set the edges Decide where new render stops against brick, stone or an existing finish.
- Prepare the background Remove loose material, repair masonry and prepare suction and surface key. Existing paint needs a specified removal or alternative treatment.
- Base coat Built up to level the wall, with mesh where backgrounds change or crack.
- Finish Matched to the rest of the house or chosen as a deliberate contrast.
- Shed the water Copings, sills and the base bead keep rain off the top and away from the bottom edge.
The usual order of work. The survey and the chosen products decide the actual steps.
Yard and boundary walls take the most punishment
A freestanding wall is exposed on both faces and across the top, and in a low-lying city its foot can sit in pooled water after heavy rain; Hull City Council's flood strategy notes that surface water collects in low spots when it cannot drain away. So the top needs a coping or capping that overhangs both faces with a drip, not render taken over a flat top, and the render should stop above the ground on a bead rather than run into the soil or paving.
Because the wall gets wet from both sides, the render mix matters. MPA Mortar's guidance is that each undercoat should be weaker than the masonry it sits on yet stronger than the finish over it, and that severely exposed walls should get three coats. A very strong render on soft old brick tends to crack and shed.
In Garden Village, Hull City Council's Article 4 directions require planning permission for alterations to a gate, fence or wall fronting a highway, so a front boundary wall there needs checking before it is rendered or altered.
How a single wall is re-rendered
The sequence for one wall follows the same order as a house, with more attention where the work stops.
Mark the extent on the wall, including the returns and the strip behind any downpipe.
Cut a straight, clean line with a disc where the new render will meet retained render.
Hack off inside the line, repair the brick and dub out any deep hollows; let fillings set.
Set stop beads in render dabs at the boundary and into the reveals against the frames.
Fix corner beads and a bell-cast bead above the DPC.
Apply the undercoat, pressing it into the edges of the beads so no air pockets are left, and scratch it.
Apply the finish level with the bead edges once the undercoat has dried, then seal the boundary line.
Where the new render stops
Good places to stop are an external corner, a change of material, or a movement joint. Renderplas's installation guide for its beads shows stop beads pushed into reveals against window and door frames, corner beads pushed onto external angles, and a gap of 8–14mm left between bell-cast beads at a movement joint, with a movement bead fixed over the top. The render is finished level with the exposed bead edges.
Where an extension meets the old house, do not let the render run across the junction as if it were one wall. The two structures can move independently, and a crack will follow the joint whether or not it is planned. A bead on each side, or a movement bead, gives that line somewhere neat to go.
Matching and protecting the new wall
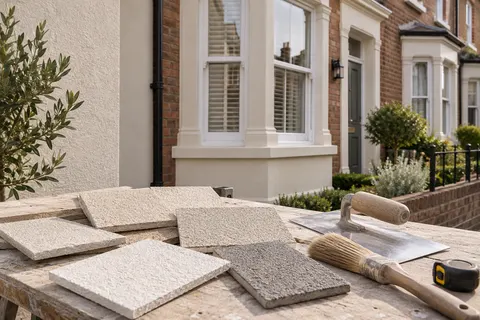
A newly rendered wall next to old render will look different for a while, even in the same product and colour. Through-coloured renders shift in shade with the timing of their finish, and a weathered wall has lost its first brightness. If the match matters, plan to coat both walls in the same masonry finish once the new render has cured.
Fresh render must be kept off rain and frost and out of strong drying sun and wind, so a single wall still needs sheeting on its scaffold. The undercoat should be left to dry and shrink before the finish goes on: the MPA data sheet allows at least two days in summer and a week or more in cold or wet weather.
Common questions
Can I render the back wall but leave the front as brick?
Usually, outside a conservation area. The render should stop on beads at the corners so the edge is weatherproof. In a conservation area, check with the council first.
See housing and planning information for Hull and nearby places, including the source and geography behind each figure.